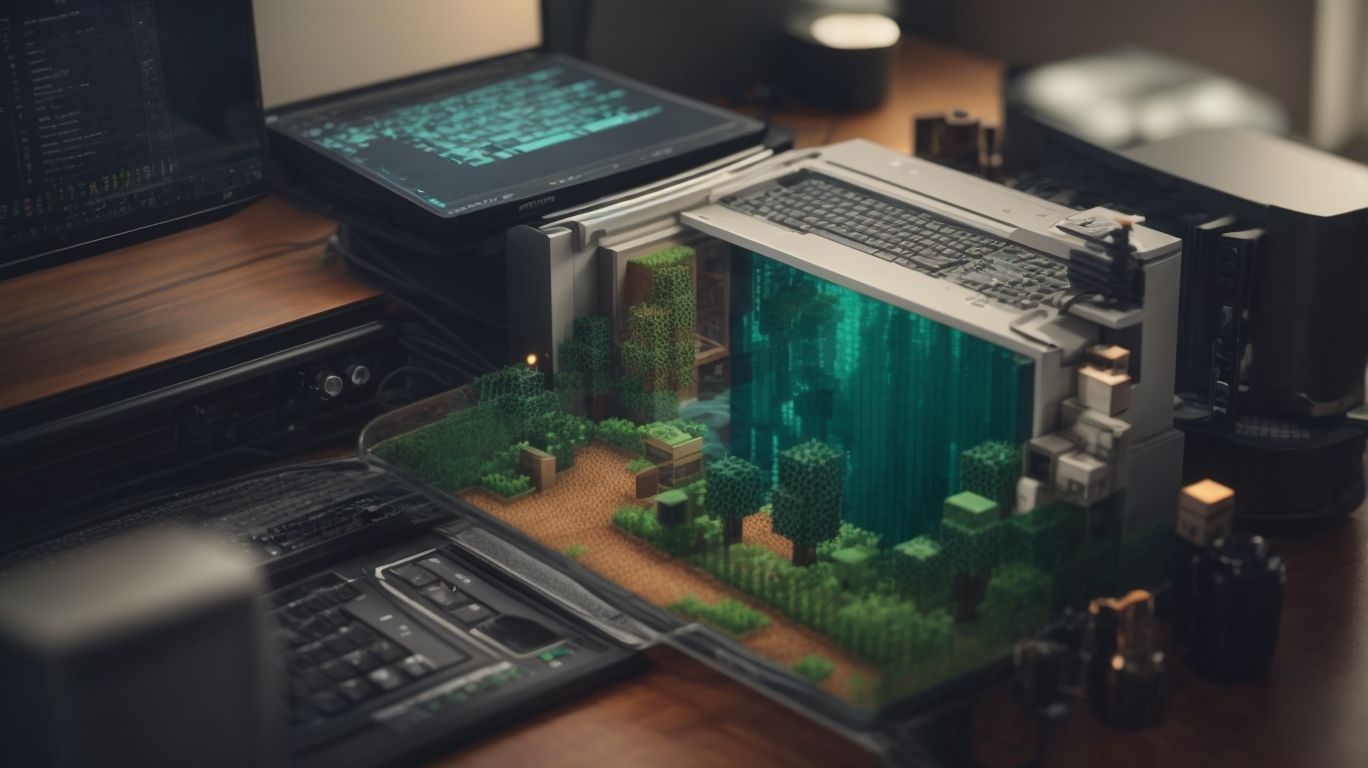
The Ultimate Guide to Making a Server in Minecraft – Step by Step Instructions
Are you a Minecraft enthusiast looking to take your gaming experience to the next level?
Explore the world of Minecraft servers, from what they are to why you should create one. Discover the benefits of playing with friends, customizing gameplay, and building a community. Learn how to set up your own server, manage and administer it, and troubleshoot common issues that may arise.
Get ready to elevate your Minecraft experience like never before!
Contents
Key Takeaways:
What is a Minecraft Server?
A Minecraft server is a multiplayer server, managed and maintained by a server operator or as part of a Minecraft service provider. It allows Minecraft players on the same or different devices to all connect to the server and play within the same instance of the game together. Servers can enforce various types of user rules, automatically backup game progress, and be one way that users can socialize with one another while playing Minecraft.
A Minecraft server can support anywhere from 2-1000 people playing the game at once, depending on the server hardware and quality of internet connection. Server operators can alter the system requirements and parameters of their server to allow more or fewer players on at once. Many large Minecraft servers have custom plugins which alter gameplay and add various features.
Why Create a Server in Minecraft?
The primary reason to create a server in Minecraft is to host a social multiplayer experience. Thousands or even millions of users at a time can access a server, ensuring there are plenty of friends to be made. Server worlds have procedurally generated biomes, which change on both an ongoing daily basis and special occasions, adding extra enchanting effects to the experience for those who wish to interact on a social level.
Play with Friends
Playing with friends is perhaps the easiest way to create a server in Minecraft. One player can act as the server (local server). Another option is to pay for a Minecraft Realms subscription which will make a server accessible to friends and can be controlled by a network.
Local servers allow others to connect only if they are on the same network. Realms allows a server to be accessed and controlled from the network.
Minecraft Realms offers a 2-person server starting at $3.99 per month, and their biggest server package starts at $7.99. Users can get discounts or bonuses for longer subscriptions. Users can create a free server, but it requires managing the software and hardware for a dedicated server. Realms use an optimal configuration and settings to produce a smooth experience.
Customize Gameplay
If you want a private Minecraft server, then you will eventually want to customize gameplay. In the /server.properties file you can change nearly all the possible gameplay options. One unique tool for customizing your server is the Engram which is part of Ark, which is a similar game made by the same company. One of the options in the Engram is to allow the ability to fly or sail whenever you want. While this doesn’t exist in Minecraft, it is the type of customization that you can allow for in your Minecraft server. To learn how to customize everything you want, read the server.properties file hosted by the Minecraft Community Sprite Pai.
Create a Community
Players in your server have equal status and anyone can choose to be a server operator (op) and run lightning-fast tech commands on your server system’s chat interface. Have some things prepared in advance, such as groups, roles, so players have some options of what they can ‘get down to’ on your server. You can also actively message users who have already joined your server so they become an even more embedded part of your server community.
How to Make a Server in Minecraft?
You make a server in Minecraft by either purchasing hosting for a private server or setting up a dedicated server. There are several steps to set up a Minecraft server:
- Install Java – You will need the latest version of Java software to run the Minecraft server.
- Set up your server – Run the newest version of Minecraft on the server computer to configure the server.
- Configure the Minecraft Server – Customize the server by modifying the server.properties, whitelist, or other server configuration files.
- Start the Minecraft server over the command line.
- Forward your server’s ports.
- Congratulations, your Minecraft server is ready for use!
Download the Server Software
To make a Minecraft server, the first step is to download the server software you want to use, e.g. CraftBukkit or Paper. Even if you are hosting a local LAN server from your PC using the built-in server software provided by Minecraft, you must download this software. There are plenty of third-party server software options but Paper is the most popular because of its fast and stable performance. Here are the steps to download the Paper server software:
- Navigate here:
- Select the Recommended build. This will be highlighted in light green.
- Then click on the .jar link and the download will start.
- Select Allow or Keep in your downloads.
Configure Server Settings
Main configurable settings in server.properties are files under the Minecraft server workspace. These can be changed by selecting the menu shown in the graphic below in the Windows interface. You will also be able to use the following settings in the `server.properties` file to determine the experience players can have on the server. These are the server.properties settings assisted Setup will ask you about and explain. Input them in this step and these will determine the functionality of the breaker created server in Minecraft. Any time you want to change these properties, you should stop the server first and then restart. To restart, use the following command.
- difficulty
- gamemode
- max_players
- pvp
- spawn_protection
- allow_nether
If you want to limit the number of miners on your server for any reason, administrators can control latency by using the view-distance flag (16 is the default recommended value for most builds). This is the maximum number of chunks that are calculated at a time, so reducing this number may limit the ability of even local players to mine and build in other chunks. Remember the server must be stopped and restarted in order for these changes to have an effect.
There are many more detailed fine-tuning configurations available within the server.properties file for advanced control.
Set Up Port Forwarding
When you set up a Minecraft server, you will direct traffic from incoming connections towards the server itself. This process is called port forwarding. Tell your router to send connections on a particular port to an internal IP address you determine. As of September 2021, the default port for Minecraft servers is set to 19132 for UDP which is what you are most likely going to use. You can leave the port as is in the server.properties file.
Find your internal IP address by accessing Minecraft through the command prompt. Press your Windows button and type in the search bar Command Prompt. Select the Command Prompt app. In the Command Prompt screen, type ipconfig and press Enter. This will show your local area network LAN IP address. You should see IPv4 Address (most likely something like 192.168.1.99). Use your computer’s local IP address (LAN IP address) and set it to the server’s internal IP address (IP4 address). If you set up your Minecraft server and port forwarding correctly, external connections should now be able to connect to your server which is running locally. Set up security rules through the windows security manager at Windows Security -> Firewall & network Protection.
If a player is unable to connect, take a look at the server’s server log file. If you see Server thread/INFO: QUERY ( TCPConnection ) When I check it, all the information I am being given just avoids saying #4445 is not open. This implies that connections are being allowed, but this could be confused with saying the port is open in the firewall. You can check if you have port forwarding set up correctly by visiting the website canyouseeme.org and typing the port number in the appropriate box. If the website is not able to see the port, your port forwarding is likely set up incorrectly.
If you do not modify your Minecraft server, external clients must specify your server’s IP address and ensure they are not using any other port by visiting Cloudflare’s Checker.
Now that you have set up the server, port forwarded and set your server so that players have the right role and permissions, the next step is to share the server IP address so your friends can join. Give friends your public IP address, which they can find at whatismyip.org. Note that your IP address may change over time, depending on your internet provider. There are also plugins such as SimplePublicIP, which gives players the ability to type /pip for the IP address, and it updates the DNS if the IP changes.
How to Manage and Administer a Minecraft Server?
Administering a Minecraft server refers to managing the server though addition and removal of players, monitoring activity, configuring chat functionalities, and similar tasks directly related to the server itself. Administering a server without interfering in building, gaming, maintenance, or similar aspects of the world can be the responsibility of what are known as server administrators (Server Admin or SA)
The command that assigns and removes Server Admin permissions in Minecraft is simply the slash command /op (operator player name) which gives admin status to the target player. The command de-op can also be used to remove admin status from a player who is no longer performing their responsibilities (Console Commands, n.d.).
Set Rules and Guidelines
- Define what cheating might mean
- Define how the chat policy will be enforced
- Define building codes in areas. Players are not happy when they find out their land art has been trampled.
- Expand player permissions to friends and users. Reserve the whitelist for staff and contributors.
- Choose how the weather will be controlled.
- Create some goals and achievements for players to reach. Maps and leaderboards go a long way in creating a server-wide competition and generating community gameplay.
After all of this, make sure to create and implement server guidelines and then allow players to view them. Consistent and fair user interaction can never be guaranteed but guidelines that follow these principles can tip the scale in a positive direction. List your main rules on a sign in the main area or community hub. If nobody reads the rules and they are not strictly enforced, you will find sooner rather than later that your server community turns toxic. Establish rules as a way of identifying the problem before it arises. Always be integrating feedback and lessons learned from the community.
Install Plug-ins and Mods
After creating and launching a new server, a default vanilla world is loaded. For more customization and expanded functionality, the next step is to install plug-ins and mods. A server administrator can install and manage a variety of different server add-ons and mods. some of the options for gameplay extensions include plug-ins like WorldGuard which protects a region from modification by others, and EssentialsX which adds a wide range of functional commands for the server such as /tp, /home, and /spawn. Various modpacks like FTB can also be set up to change the game experience further. What they all have in common is that they are added to the mods and plugins directories in the server.
Monitor Server Performance
Performance monitoring is a crucial aspect of setting up a Minecraft server. Monitoring performance allows server owners to diagnose issues when they arise, maintain a good level of play for the user, as well as optimize server resources. There are two main methods of checking server performance – using third-party applications or using the `/debug` command in the Java client.
If you want to monitor performance using third-party applications, the following tools are suggested by the minecraft.fandom website are:
- System Information Checkers: Provides information related to CPU, memory, hard drive use, and much more.
- Nerdbench Benchmark: Gives an estimate of background loading and foreground switches.
- Windows Task Manager or Activity Monitor: Built-in utilities for Windows and Mac (respectively) show how much resources (CPU or Memory) are being consumed or which process is utilizing high resources
Many plugins are also available in popular server platforms such as Paper, Spigot, or Bukkit. Such plugins gather statistics on player performance, server performance, and perform other useful diagnostic functions. An example is the LaggRemover plugin for the Spigot server. As a second method of monitoring server performance, the `/debug` command inside the Minecraft client shows exact statistics about how the game is running. The debugging screen provides a shortcut by pressing of hotkey `F3 + H`.
The most important metrics to watch in performance monitoring are view-distance, server response time, entities, players, mem, max-tick-time, TPS, and network metrics (minecraft.fandom). Carefully monitor performance figures and adjust the server configuration as the metrics show signs of degradation in performance.
Manage Player Bans and Whitelists
In a private or semi-private Minecraft server with open guest subscriptions, there tends to be occasional disruptive players. You need to be able to impose penalties to temporarily or permanently restrict server access of the offending player. This isn’t commonly an issue for public servers.
Ban whitelists are lists of players who you have chosen to impose restrictions on their server playing options. The most popular form of server restriction is banning, which prevents the player from joining the server. However, the program you run for your McMyAdmin, Multicraft, or other admin console will give you additional options such as silencing or not allowing those players to interact with certain entities after they’ve logged in.
Both bans and whitelists can be implemented in game and on the Multicraft control panel. Once a user is banned they will not be able to connect to the server anymore. To unban a player, the player first needs to be viewed in the admin console panel and then when right-clicked on, a list of action types like unban, kick, mute, warn, and jail can be selected.
To have new players join a whitelist (a list of players you’ve allowed to join your server), you need to select the ‘Whitelist’ menu option and then enter the new player’s user ID. The new player will then be asked to enter the whitelist after logging in to the server. Both of these activities are rarely necessary in public servers and only acceptable after strong cause for the player being banned has been demonstrated.
How to Troubleshoot Common Server Issues?
You troubleshoot common server issues by checking your server.properties file in the server folder to see if anything is misconfigured. You can find the server folder by going to the MinecraftLauncher and selecting Launch Options. On the tab containing your version of Minecraft, click the folder icon. The server properties file (server.properties) will be in the main server folder alongside the .jar file.
You can troubleshoot the most common issues with your server by examining these settings in the server properties file.
- The server is running but users can’t connect? Solution: Check the port number in the server properties file!
- The server is running but it’s not showing up in the server list? Solution: Make sure the level-name in server.properties matches the file name of the world.
- The server is running but there are connection time-out errors? Solution: Your landscape could be too large for your server’s processing power.
- The server is running but you’re getting reports that it’s crashing? Take a look at your server’s rendering or graphics requirements.
- Players can connect but the server lags? Solution: You probably need a server with more resources.
There are almost 100 settings in the server.properties file. One of the best resources for learning about common server issues is to examine both the FineTuning tab of the server.properties file and the Troubleshooting and Problem Solving sections in the official Minecraft wiki on Gamepedia.
Server Crashes
A crashed server in Minecraft is a server that suddenly becomes inactive and stops accepting player connections and processing player data.
There are several reasons a server might crash:
1. Overclocking CPU – Attempt to scale back your CPU’s boosters.
2. Malware and viruses – Check for these wrongdoers and eliminate them from your system.
3. Internal conflicts – Consult the manual or helpdesk from the server hosting service’s control panel.
4. Ram overload – Upgrade or request more from the hosting service.
5. Backup world overload – Try removing files from it beforehand.
Connection Problems
These are the common causes of connection problems:
- Port forwarding not done: For your friends from outside your local network to connect, your router must have port forwarding.
- Firewall error: Allow both the Launcher and Javaw through both Private and Public networks in the Windows Firewall.
- Power cycle the router: Power off your modem or router or both, wait for a good minute, and then power them back on.
Youtube- MineCraft Mod how to Set Up A Minecraft Server 2020
Plugin/Mod Conflicts
Plugin or mod conflicts occur when the data handling methods of two or more plugins/proxy mods are in direct contradiction, resulting in unpredictable or spammy server behavior. Conflicts arise when a plugin author introduces the same Minecraft Variable that another mod has introduced, especially for their existing functions.
Plugin Dependencies manager (PDM) tracks the variables from plugins, which are based on the forge mod loader. However, it has stopped updating a few versions ago, according to one user William Goslin. The best ways to prevent or fix conflicts are to use plugins and mods minimally, switch from plugins to forge if you have not already, and use it to handle plugins like PaperMC. Use an up-to-date server software that has a well-developed plugins/mods ecosystem with regular updates. Regular updates will minimize plugin and mod conflicts.
Server Lag
Server lag refers to the `
A in-game problem that causes server lag is a host of wolves, slimes, villagers, squids, and dropped weapons. Shutting down unnecessary services in the background, ensuring that your server is only providing Minecraft services, and lowering your viewable range are all techniques to increase the server’s processing speed. Upgrading the server’s bandwidth or reducing the size of server hardware will help the server keep up with the game’s pace. Avoiding the construction of automatic farms is a way to avoid game-related server lag.
Frequently Asked Questions
1. What is Minecraft server and why do I need one?
A Minecraft server is a multiplayer platform that allows players to join and play the game together. It is necessary for those who want to play with friends or other players online.
2. How do I make a server in Minecraft?
To make a server in Minecraft, you will need to download the server software from the official website and follow the instructions for setup. You can also use third-party hosting services to make the process easier.
3. Can I make a Minecraft server for free?
Yes, you can make a Minecraft server for free using the official server software. However, if you want to have more control and customization options, you may need to pay for hosting services or server mods.
4. Do I need a powerful computer to make a Minecraft server?
No, you can make a Minecraft server with an average computer as long as it meets the minimum system requirements for running the server software. However, having a more powerful computer can improve the server’s performance.
5. Can I customize my Minecraft server?
Yes, you can customize your Minecraft server by using server mods and plugins. These allow you to add new features, gameplay modes, and even change the appearance of your server.
6. Can I play on my own Minecraft server?
Yes, you can play on your own Minecraft server by connecting to it as a player. This allows you to test out different settings and configurations before inviting others to join.