The Ultimate Guide: How to Use a Smithing Table in Minecraft
Are you a Minecraft player looking to level up your crafting skills? Then you’ve come to the right place!
In this article, we will explore everything you need to know about Smithing Tables in Minecraft. From how to craft a Smithing Table to its purpose and functionalities, we will cover it all.
Discover how you can use a Smithing Table to combine, repair, and customize your tools and armor, as well as create new items and enhance your gameplay.
Contents
Key Takeaways:
What is a Smithing Table in Minecraft?
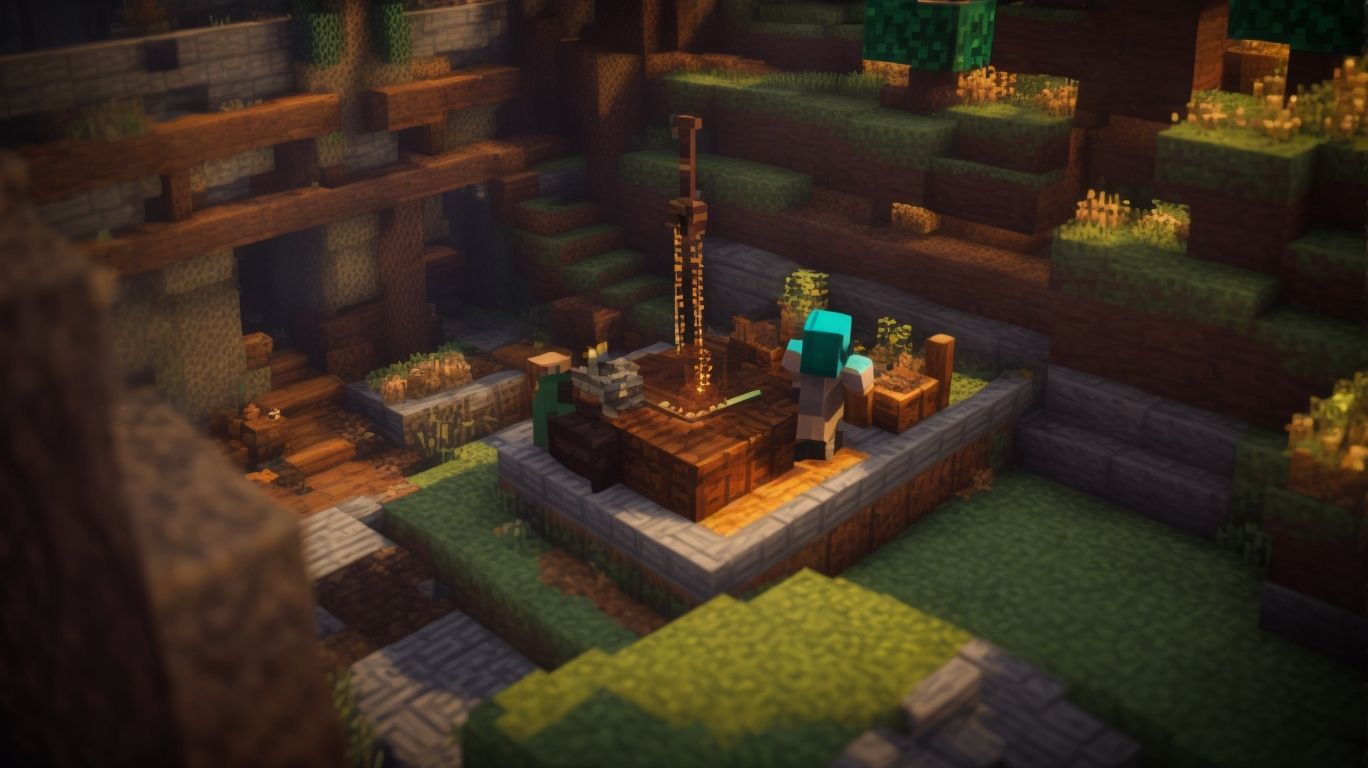
A Smithing Table in Minecraft is a crafting/utility block that can be used by Villagers in conjunction with a blast furnace to turn iron nuggets or ingots into netherite ingots – the main ingredient in the strongest and most durable items in the game.
A smithing table was available in early versions of the game for upgrading diamond tools to netherite tools to increase their durability and power. However, direct upgrading netherite items without using them to craft anew was removed in more recent versions of the game to encourage the exploration and material collection that upgrading with crafting netherite ingots requires.
According to the Minecraft Gamepedia, Smithing tables are crafted from 4 planks of pretty much any vanilla wood and 2 iron ingots. They are only useful in a Villager’s workplace where the correct type of Villagers can upgrade weapons. Players do not directly use smithing tables at all in the current version of the game unless they intentionally want to add one to their village or so that a Smith villager can have a workplace to work in.
How to Craft a Smithing Table?
A smithing table can be crafted from 4 planks of any wood and 2 iron ingots. There are eight versions of wood (acacia, birch, crimson stem, dark oak, jungle, oak, spruce, warped stem) with 32 planks, each version producing an equal smithing table when combined with two iron ingots that act as a temporary crafting grid pattern.
To make smooth quartz or cut sandstone versions of the table, change the 4 planks to 4 smooth quartz blocks or 4 cut sandstone blocks. Players can obtain these materials by smelting quartz or crafting it from nether quartz chunks, crafting it from plain sand via the crafting grid process, found in blocks within the desert biome.
What is the Purpose of a Smithing Table?
The purpose of a Smithing Table in Minecraft is to use it for upgrading Leather Armor to the Chainmail, Iron, Gold, or Diamond variations. The smithing table allows the player to use higher-grade materials to upgrade lower-grade pieces of armor. This is the only purpose of a smithing table, and no other items can be crafted using one in the game.
The smithing table is a multifunction block. Aside from upgrading armor, it is also used as a villager work station. Blacksmith villager professions use this block. A blacksmith offers service trades and wares to players. They can be found in the game’s buildings or randomly in villages. They typically require 1 smithing table to work at. However, blacksmiths can sometimes spawn randomly in the game world without a smithing table to work with.
Blacksmiths can trade items in the following categories multiple times:
- Tool Smith – An unemployed villager can be assigned a smithing table and turned into a toolsmith.
- Weaponsmith – An unemployed villager can be assigned a smithing table and turned into a weaponsmith.
- Armorer – An unemployed villager can be assigned a smithing table and turned into an armorer.
- Netherite and golden equipment, black stone and netherite tools, enchanted weapons and armor, and various ores can all be traded for.
What Can You Do with a Smithing Table?
A Smithing Table in Minecraft is a utility block that provides access to various highly damaging and protective types of equipment. Milling the basic resources of metal and trees into the potent materials of gold, netherite, chain, and iron equipment creates a deeper and more multi-faceted world to explore. Here are the things you can do with Smithing Tables.
It enables players to craft highly durable and protective iron armor, tools, swords, and shields. More precisely, smithing tables can be used to upgrade diamond and netherite items into their stronger and more enchantable forms. A smithing table provides players with the ability to mill valuable ores for the following highly defensive and protective applications, whether to penetrate the terrifying atmosphere of the Nether or explore the strongholds of the Overworld.
It can upgrade iron, gold, netherite, or diamond armors, tools, swords, hoes, tridents, axes, pickaxes, and shovels, over to the Chain, Gilded Blackstone, Netherite, or Amethyst forms. For a complete list of item combinations, look at the Minecraft Smithing Table wiki.
An enhanced form of equipment called the gilded blackstone can be forged using the table. This new type of object is used to create a trap to disable or kill a player or unprepared creature. Gilded blackstone is a type of ore that Minecrafters in the game can come across. By using a pickaxe, players can defeat the ore and be provided with the raw version of the ore instead of processed nuggets. However, the gilded blackstone ore can be used to sneakily and deceptively forge some of the ore in its raw stage, which essentially means the trap creator can kill the next person who dares to break the ores.
What Can You Not Do with a Smithing Table?
You cannot use a Smithing Table in Minecraft to affect non-smithing table compatible items, change item materials, use the smithing table with a blasting or smelting furnace or a grindstone, or use the table to repair spirits with experience instead of materials.
You cannot use a smithing table in Minecraft post-1.14 to create chainmail armor. If you do find chain mail armor, it is the only item in the game whose properties can be changed by these tables.
The list of what you cannot do with a smithing table in Minecraft is much shorter than what you can do with one.
How to Use a Smithing Table?
A smithing table can be simply used in Minecraft by selecting an item from your inventory or pressing the E key, and placing the item from the inventory into one of the three slots. Adding the ingredients necessary for that specific modification into the slots, and confirming that the smithing table outputs the correct item. Then exit the table by pressing E or closing the game window.
Step 1: Place the Smithing Table
To use a Smithing Table in Minecraft, the first step is to place the Smithing Table anywhere it fits within blocks of your base.
Smithing Tables themselves do not need any specific blocks surrounding them or special items to work, but because you need to combine the table with special items to get benefit from it, you may want to decide where items fit best before placing it.
These enchanting-infused tools can help produce gem armor or fusion-infused armor, which require at least 4 Smithing Table blocks and appropriate surrounding materials to produce.
Smithing Tables can be placed against any solid block, though they will not connect to the block itself. Any solid block Smithing Tables can attach to can be solid wood, ore mineral, ceramic, concrete block, etc.
Step 2: Gather Materials
Step two in how to use a Smithing Table in Minecraft is to gather materials. This means gathering iron ingots and wood planks. A Smithing Table in Minecraft requires two iron ingots and four wood planks of any kind. Iron ingots are made by placing iron ore either in a Furnace if it is not already smelted, or into a Blast Furnace if it is in ore form (in newer versions of the game). Once the ore is in the desired state of transformation, the Ingots are placed into a crafting grid, where each ore converts to a single ingot. Four wood planks (one log’s worth of planks) of any type are needed. The difference in types of planks is purely cosmetic and does not affect the Smithing Table’s operation.
If a player wants functionality out of them as well, a player can opt for a type that has potential future functions. For example, a Crimson Stem block can convert to Crimson Planks, which can then further convert into respawn anchors at a lodestone (Nether 1.16), while regular planks have no functionality beyond being aesthetic and generic. Luckily, any logs on the grid can be swapped for the basic logs should a player regret their cosmetic choice. Logs can be turned into planks out of the 2×2 crafting field by right-clicking or items by splitting stacks in the inventory.
Step 3: Open the Smithing Table Menu
Upon opening the smithing table menu, two slots and the maximum output are displayed. The source slot is placed in the top-left corner and acts to showcase the base item. In the bottom slot, add a material that modifies the base item. The item to be created is displayed once both reported slots are filled.
The source slot is placed in the top-left corner and acts to showcase the base item. In the bottom slot, add a material that modifies the base item. The item to be created is displayed once both reported slots are filled.
Step 4: Place Items in the Smithing Table
You can place materials in the input and output slots. In the Smithing Table Input Slot #1 is for the Base and fits up to a maximum of 1 Base and one Addition. Slot #2 is for the Addition and fits up to a maximum of 1 addition while being supported by its base as required. Slot #3 is for removing blackstone from lodestones.
For the Smithing Table Anvil, Slots 1 and 2 are the Same Items and fit up to a maximum of 2 Identical Base Materials for merging, with additional items or non-identical items not working. An example is Merged Netherite. Slot #3 gets the Merged Material. This material will replace the Channeling enchantment of the Trident, giving it the ability to summon a lightning bolt when thrown.
Step 5: Choose the Output
Finally, while the smithing process itself is automatic, choosing the final output is left to the player. If they want to switch an item from a diamond or netherite to an iron or gold look, or just find a better commentary by bartering with a tool smith or weaponsmith villager, the smithing table is the instrument to make it so.
Simply click on the item and hover over the Material (Upgrade Unit) item on the left side of the panel. This will provide you with the characterization and attack damage or defense strength attributes of the equipment you will get when you click it. The previously empty square into which one clicks the chosen material will fill, showing the combined equipment attributes. It is that simple. Click and it will ask if you wish to proceed. Click yes if you wish to buy it.
Nonetheless, as some viewers may have noticed, it is possible with smithing to combine two items with a material. However, when attempted with the smithing table both items will disappear resulting in the loss of both weapons and the material used to upgrade them. Of course, to obtain different commemorative abilities that are not contingent on changing the material, the anvil and barrel can also be used in smithing in Minecraft.
Step 6: Take the Newly Crafted Item
Smithing materials are important in Minecraft because they allow for item upgrades. After merging items, they can be upgraded in a grindstone. The smithing table is used to upgrade items. The smithing table allows you to upgrade either a diamond or an netherite item and merges them together. After the item is upgraded and merged, players can see the new netherite stats such as type and love on player and item statistics. In the upgrades, there is not an increase in durability points and they will be the same as the diamond or netherite item on its own.
After upgrading with the smithing table, players receive the base item as well as a shining, merged base item in the inputted slot. To use the new item, players can take it to the anvil or use it as they would the original diamond or netherite item. With improvements, the items also require semi-rare resources both to collect and to use in the selection.
What Can You Use a Smithing Table For?
In Minecraft, you can use a smithing table to upgrade various weapons, utility tools, and armors from their lower tier to more efficient and effective ones. The smithing table is used to provide additional attribute enhancements while ones such as iron or diamond tools and weapons are being upgraded.
The smithing table is a p designed item that was introduced in the Minecraft Village and Pillage update (1.14) The smithing table and its function were introduced to enhance the overall gameplay experience and encourage critical thinking among players in order to survive. The smithing table’s only intended use is for upgrading iron equipment to diamond, as well as upgrading diamond equipment with higher levels of enchantments. Smithing tables also have no limitations on upgrading durability. Virtually any tool or weapon can use a smithing table to upgrade to a higher tier.
Combining Tools and Armor
Combining tools and armor involves upgrading nearly depleted items. Crafting a chainmail set is the only way to make chainmail complete.
First, open an anvil and select a left-slot tool or armor piece to be upgraded. Second, select the right-slot tool or armor piece, keeping in mind it must be the same type as the one in the left slot (i.e., 2 iron pickaxes). Third, press the Combine button to craft one complete and highly enchanted piece.
Repairing Tools and Armor
A smithing table can be used to repair tools and armor in Minecraft the same way as in an anvil. As with most repair functionality in Minecraft, you must have the same type of item to combine with your damaged item during the repair. So if you have a pickaxe, you need another pickaxe to add hit points to it (repair), and same for an armor piece like diamond leggings. To repair an item from the contents of your inventory, follow these steps:
- Right-click the Smithing Table to open the Smithing Table menu.
- Place the item you want to repair in the left slot. For instance, pull out a Diamond Pickaxe that you want to repair. This will move it to the right slot on the anvil application.
- Place the desired item to use as a material for the repair in the slot on the right. For the diamond pickaxe example, add an extra diamond.
- Click on the downward arrow in the center (repair and combine option) to combine the two items. This will move the output item to the output slot and update the cost chart for combining.
- The repaired item can be selected with a click from the output slot and placed back in the player’s inventory.
Take note that unlike smelting or crafting, repairing will also cost experience points. The new diamond pickaxe, in this case, will need to be 18 experience for full repair. The cost is directly related to the item’s durability – the less durability, the less XP required.
Changing the Enchantments of Tools and Armor
A smithing table in Minecraft is used to change the enchantments of tools and armor. Tools can be chiefly modified in two ways – upgrading or changing its type. When two broken tools are combined in the smithing table, the resulting tool is usually of a higher grade.
Applying the tool you wish to keep in the first slot and then adding the one to modify in the second slot is the process for upgrading it. To change the type of tool, you must use a tool as the base in the first slot and any type of tool in the second slot. The tool will change to a new kind that you would most likely not have wanted.
You cannot upgrade the tool of another type. No materials are lost during these processes. Both of these processes work the same way with armor but with slightly altered item requirements.
Creating New Items
New items found in the Smithing table are two upgraded versions of netherite items, as well as the lodestone, which can be used as a landmark to determine directions using a special compass, or the stolen block of netherite, which functions similarly to a redstone block, acting as a strong and compact building material that can be used to restore the beacon back to its original appearance. However, it cannot be used to activate them.
Customizing Villager Trades
Smithing tables may also be used to customize villager trades. Up until Java 1.17 and Bedrock 1.17, Toolsmiths have a trade for a netherite ingot in exchange for 16-64 emeralds. This is obtainable by crafting a netherite ingot from one netherite scrap and four gold ingots via a crafting table, combining the smelting of netherite scrap and gold ingots on a furnace and then bartering with Piglins to get the netherite scrap.
Toolsmiths are semi-rare as they have only a 50% chance of being a toolsmith if they switch to a new profession. Transforming a smith from another villager type is very difficult as smithing tables are expensive to craft and smith villagers are not so prolific. In Bedrock 1.17, anchor points originally from the composting mechanic are added to the game to help create and modify villager trades. Smithing tables allow villagers to select a profession or switch to an unskilled state and villager trades at anchor points will not change. Using the smithing table to customize roaming villagers should only be attempted if the player is in a location where these anchor points are present to avoid difficulty.